Subtitle

. . . . . . A place to contribute, exchange tips and ideas and find further info on the LDC group on Meetup.

Showing posts with label fabric. Show all posts

Saturday, 28 July 2018

Learn From Mistakes- MINE!

I thought that I would do a series of  posts on making clothes using pdf patterns available for free on the Internet.  My aim is to try to find less well known ones- most sewists know about the Sorbetto top by Colette or the Orla dress by French Navy or  the Plantain tee by Deer and Doe  so I searched for patterns that I had not seen before with the criteria that the pattern had to be something I wanted in my wardrobe, that I could make using fabric that I had in my stash already and that I thought might appeal to other dressmakers.

I came across French blogger Sophie Blossom and was attracted by her free pattern for the Laurel Blouse.  
 I was looking for a top with sleeves in a style suitable for the currently hot weather.  I liked the small Mao collar, V neck and over sized sleeve openings fastened by a cuff that extended into ties to be knotted into a large bow.  If you stay true to the original version there are no zippers or other such fastenings and all you need is fabric and thread. It seemed to have the potential to be worn over skirt or trousers or tucked in, to be simply casual or more dressy with a statement necklace in that V neck.  My version, shown below, deviates slightly from the original as you will learn if you read on.

Here is Sophie modelling her pattern.  I wish I looked that chic.

The blog is in French and my standard of French is that of someone who learnt it a very long time ago at school and has not used it much since.  Fortunately Sophie has produced a video, showing the simple construction of this blouse, that I believe could be followed by non-French speaking sewists.

So far, so good - BUT
This pattern comes in a large size range, listed as 34 to 52.  But what did these French sizes mean?  I searched the Internet for the equivalence between French and British sizes, there was a variation in answers but the majority seemed to say that size 38 was equivalent to a size 10 (the size 10 used by the commercial dress pattern companies) and this is the size that I used.  This was my first mistake.  I should have explored Sophie's blog further and then would found the menu option "FAQ Patrons" before I printed out the pattern and cut out size 38.  The FAQ told me exactly what the size measurements were and this meant I had cut out too large a size.  It also informed me about variations, according to the printer used, in printing out and assembling the pattern.  It told me why there was a gap in the pattern at the edge of the individual sheets and knowing this would have saved me much time and head scratching trying to work out how the pattern should be pasted together.  The reason was that the printer I was using would not print without margins and to remedy that I found that I needed to connect the small gap in the pattern lines, simply by connecting with a pencil line, once I had abutted the A4 sheets up against each other.
Of course I was cross with myself for not taking greater care to make sure I had read all the instructions (who hasn't been there?) but I decided to carry on with size 38, hoping to adjust it if necessary and thinking that a loose top would be no bad thing in the present heat.

IN ADDITION
I displayed another example of not thinking ahead and did not change the printer from "Print in Black"- the different pattern sizes are indicated by differing colours of line. Luckily I had only printed out the first 2 pages before realising this and changing to "Print in Colour".  However I forgot to check the levels of the colour cartridges and had printed out all the pages before realising that some colours were not printing at all and I had lines that were completely missing or very hard to distinguish. Thus I had to print it all again!**!- after changing the cartridges.

I had noticed that, as a coda to her blog on this pattern, Sophie had indicated that the back shoulder should be extended by 1 cm and the front shoulder reduced by the same amount- at least, this is how I translated it.  I proceeded to do this on the body pattern pieces.


NEVERTHELESS
I failed to register that I would need to adjust the front and back facing pieces as well.  Mostly I followed the order of construction demonstrated by Sophie in her video but I deviated from this by attaching the facings before I sewed up the side seams as I think it easier to sew the facings on while the garment can be laid out flat.  This is the point at which I realised my error in not making an adjustment to the facings.  I could have cut another set of facings but I confess to bodging it so the inside to the garment is less than beautiful- but it worked.  You should be aware, if you decide to tackle this blouse, that the notch on the sleeve head to match up with the shoulder seam also may need adjusting  but I found this was not a problem.  At first I was puzzled that there were no notches on the sleeve head to indicate front and back of the sleeve head but I then perceived that there was no difference between the front and back.

Sophie uses the flat sleeve method of inserting a sleeve.  In the video she demonstrates gathering the sleeve head before inserting but I found this was not necessary and and I could ease the sleeve into the armsyce with a little manipulation over my fingers and a small quantity of pins.  After the debacle of the facings all went smoothly.
I did make changes to the design.  I loved the over sized openings to the cuff  but I was not so enamoured of the dramatic bows to tie the cuffs, chiefly because I am clumsy, and get things like that entangled in the wires of supermarket shopping baskets or caught on door handles, and also because they would be a faff to tie without someone on hand to help.  So I came up with my own version.  I made some traditional cuffs, closed with a snap fastener. 


I used fusible interfacing on the inner cuff as I was not finishing the sleeve with ties.
I then made some faux bows out of rectangles of fabric sewn into a circle, folded in half and top stitched plus a strip sewn right sides together and then pulled right side out.
Above is an example of the circle of folded and top stitched fabric, the same pressed flat and the strip. The flattened circle is gathered in the centre.
And a piece of the strip cut off and wrapped around the gather and stitched to secure.
The intention was to stitch this bow to the top cuff thus-

However, when I did this, I did not really like it and, if I make this again, I would make smaller bows to attach or revert to Sophie's design of having ties but make them smaller, just long enough to tie into a knot and not a full bow.  At the beginning of this post I have shown the blouse with the bows I made pinned on the cuffs.  As I was not keen on this I did play about with the bows and I quite like the look achieved by attachng one bow at the bottom of the neck.
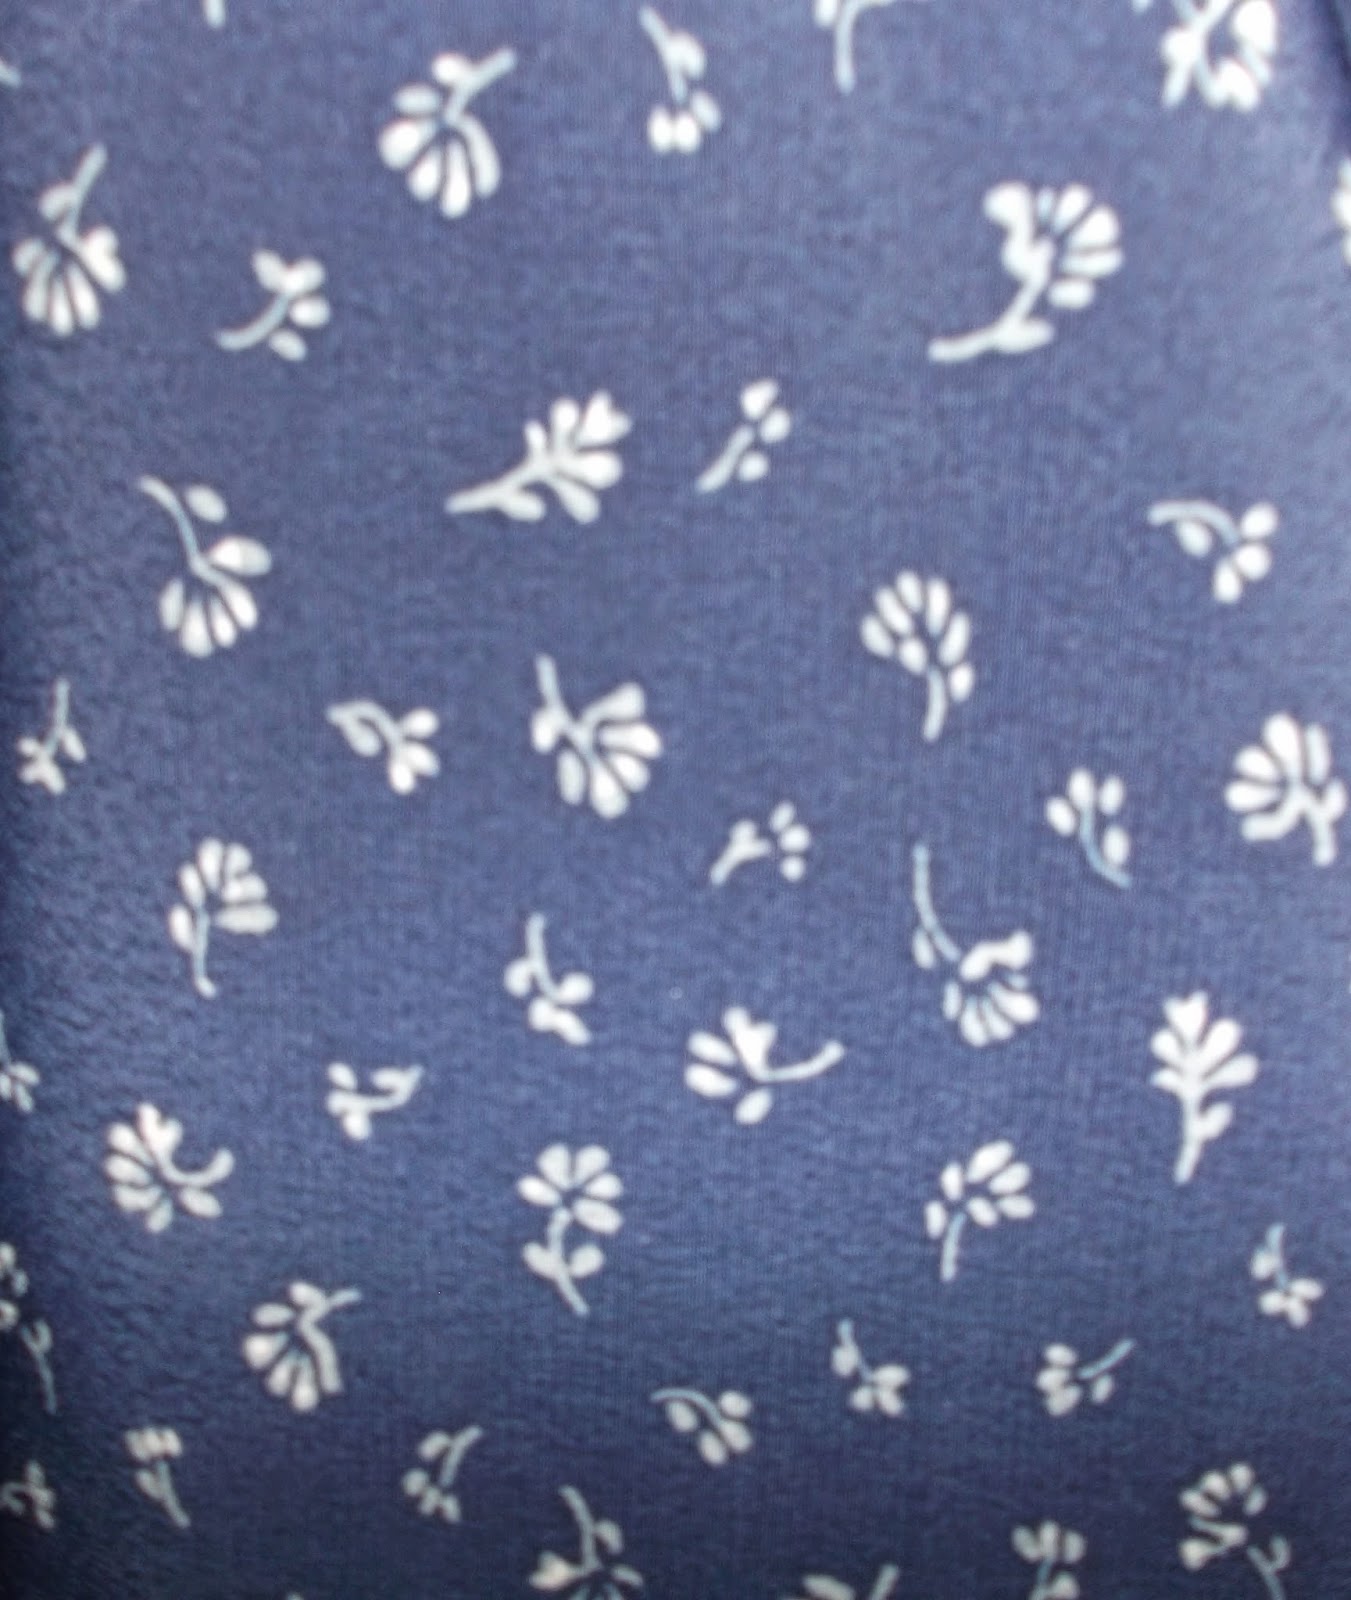
Unfortunately the dark navy colour of the background and the busy floral motifs of the material make details hard to discern.

Here is the neckline without the bow.  What do you think?

MY BIGGEST MISTAKE
was thinking that I could adjust the pattern as I went along.  In the photographs I have displayed it on a dressform adjusted to the measurements of the size that I made up.  I have narrow, misshapen shoulders  and cutting a size too large was not a good move.  I tried to reduce the width of the shoulders slightly by putting a small amount of gathering in the centre of the shoulders.  This is not noticeable due to the pattern of the material  and the minuscule amount of gathering but it did reduce the width very slightly but not enough to prevent the shoulder seam drooping down my arms.  The bust point was far too low and the depth of the V neck dangerously near to exposing my bra.  The sleeves were too long for me - this is a frequent problem for me with sewing patterns.  So, for me, this blouse gets classified as an unwearable toile  and it will end up in a charity shop unless I can find someone to whom I can give it.  This is a shame because I like the pattern and will be attempting another version  but making sure I thoroughly check out the following first by measuring the pattern- actual finished bust size, bust apex, shoulder width, sleeve length, neckline depth.

WHAT I GOT RIGHT
was my choice of fabric, which was left over from a make in July 2016.  This is a cotton, not as light as a lawn but finer than a standard dress weight cotton.  Sophie advises not to use a stiff fabric, her original choice of a red cotton sateen was too firm.  She also warned that you may need to put fusible interfacing on the collar if you make it from a fabric with a lot of drape.  You need to strike a balance between too stiff and too floppy.

LESSONS LEARNT
1. Read all the instructions- and then make sure you have read them all.
2. Pick the right size.  If not making a toile and you don't have the finished garment measurements then make sure that you measure the essential parts of the pattern and compare them with your body measurements to see the sort of fit the pattern will give.
3. If a pattern needs an alteration at one point then make sure that this does not have consequences for some other section/s of the pattern, which may need altering as a result.
4.  When printing out a PDF pattern make sure that your printer will deliver what you want and you have it at the correct settings for the task.


Friday, 26 February 2016

Using two types of materials in dressmaking

We are thinking about suggesting a new sewalong with the theme of using a contrast material with the main fashion fabric.

Googling the phrase I just found this wonderful article on the Threads website:

http://www.threadsmagazine.com/item/28239/combining-fabric-weaves-and-weights/page/all

There are so many very useful and inspiring tips there, with photos that illustrate the subject, that I couldn't ever hope to provide from my own sewing expertise so I thought you might like a link to the article.  I won't attempt a summary of the article either, do have a look yourself.

Our sewalong came out of an observation by Barbara on an element of a Chanel fashion show that had lace filling in the kick pleat of a skirt.

Most of us have some kind of material in our stash that we don't know what to do with - usually a small amount that was meant for some kind of trim or accent.

Here is a skirt I made with a fat quarter of cotton and a Scuba like stretch fabric in black, just as an example:


I basted the black fabric in two lines to the red fabric underneath, turning under as I went. Then later I top-stitched both edges, as below, and then removed the white basting thread:


This is just one example of a garment that was made from two fabrics (I had to interface the hem of the red fabric or it would have been too floppy)


How about we exchange ideas of how to use at least one of these stash items up?

I myself still have a length of lovely scallopy lace or ribbon that I haven't found a use for in over fifteen years. I think it's time I did.

How about you?  Is anything lurking in your stash that could provide a great contrast to a fabric - what kind of garment can you imagine yourself making?

Please share.

Sunday, 6 September 2015

Last chance to visit the Riviera Style exhibition at the Fashion & Textile Museum

If you haven't already been, scoot along to this exhibition before it closes on 13 September.  The Museum is closed on Mondays but open until 8 pm on Thursdays.  Their website gives the details of opening hours etc here
 It is not mentioned in the information that Art Fund card holders get in at half price.  Also there is a very nice cafe at the side of the museum should you arrive before opening time or need refreshment.

I loved this exhibition because of all the ideas on shaping fabric to fit the body and decoration that it gave me. The pictures that follow concentrate on women's garment but the display includes men's as well.  Before you get to the main exhibition there is  a room dedicated to the display of shoes by Rayne, a prestigous shoe makers.  Most of these are suited for a lifestyle where you are not tramping the wet streets of the city, in fact you are probably not tramping much at all, but they are beautiful things to look at.  Personally the shoes I longed for are these from the 1930's included in the Riviera Style exhibition.

I loved the way braid is used to trim these early bathing costumes.  I can see this being translated into a stylish shirtdress to wear today.


And these women's swimsuits from 1920's  show further inspiration for adding decoration to a simple garment.

Here is a close-up of one of them.

This boy's costume in knitted fabric shows a good way of stabilising knits when doing buttonholes by backing the placket with a woven fabric.

These two outfits , a playsuit from 1935 and a 1930's beach outfit could be worn today.
 There were not many swimsuits manufactured during the years of the WWII; most people knitted their own and I have a pattern for one in a book published at that time.  However this is one manufactured costume, which has the CC41 utility label, and I love it for the simple shaping, bold pattern and great colour combination.

 Here is a cotton playsuit and matching jacket from the late 1940's that is very much in line with the fashion for day clothes of the time.  I have just made a cotton jacket from a vintage pattern for a day ensemble that is very similar to this jacket here.

By the 1950's there was a lot more demand for leisure clothing, and fabric designs were so imaginative.  This blouse with cuffed kimono sleeves and narrow collar has a  matching pleated skirt and is made in a super print with scenes of produce harvesting.


This rose patterned 1950's playsuit, which also has a matching skirt, shows the variety of methods used to get a skin tight fit.  From the front you can see the princess seaming and centre front seam used to shape the bodice.

And from the back ruching is used to shape the side panels with a centre back zip to allow the tight fitting garment to be taken on and off.
 Ruching (or shirring) was a popular way of creating shape with woven fabrics using elastic tread in the bobbin.  This British cotton swimsuit from 1957 uses this and makes a garment that, elongated, could be copied to create a delightful summer dress for today.


From 1960's  I liked this set that seemed so typical of the period in shape and fabric
  And now the 1970's.  The skirt of the orange costume unbuttons for ease of dressing  and the red one is in then popular "wet-look" fabric.

And, although it is not a garment, I can't resist showing you one of the bathing hats, this one is from the 1960's.

This bikini from 1980's had a caption saying it shows how small swimwear became in that decade.  Difficult as it is to believe now, when you see me, I used to wear ones even smaller than this!


The display of contemporary swimsuits show that designers have an element of nostalgia in their creations.  Even men's swimwear has a print showing a resort in the 1960's and women's suit often have the ruched style of the 1950's.

John Galliano's design has echoes of the late 1940's ensemble in pink, a little fitted jacket and a belted suit.
 And the burkini harks back to the European costumes of the early 1900's.  There really is nothing new under the sun.
 Have you visited an exhibition that you would like to blog about on this iste?  Please contact Giselle through the Meetup site of the London Dressmakers Club for more information on how to do this.

Friday, 6 March 2015

Keeping track - the Android way

Barbara posted a wonderful blog post about iPhone apps to help you manage your fabric stash, pattern haul, cataloguing your thread, notions, books and equipment and other very useful sewing applications.

I am incredibly jealous because those unfortunately don't work on my Android phone. I am gutted! I could so do with an app that allows me to list all the dressmaking patterns I own.


I now found one app now that's pretty good at giving you a portable inventory of your fabrics - it is called Clothio.  You can pick photos of your fabric that you have already taken, or snap a new one from within the app (you get a copy of the photo in your phone camera directory).

You can specify the colour or colours present, whether you own it and how much of it (width and length).  You can tick several types of fibres (more than one if it's a blend) although this may not represent all the different kinds of fibres that exist. And select the kind of pattern, or none, of the fabric.

The header section allows you to name your fabric (I like to go with my initial impulse because I can remember it the best - particularly if it's a really silly name. Like Stardust Ziggy, or Wavy Art Deco - or anything equally wacky), you can make that longer by including the colour or fibre content because this name will show in two lines on the screen, though extremely long names would presumably get cut short.

The shop or source option allows you to list a specific shop or in my case just 'Goldhawk Rd', 'Brighton' or 'Walthamstow' because I can never remember the actual name. It'll do just nicely.  This will bring the named option up when you enter more fabrics, so you don't have to retype the information.

The 'Designer' option is a good one: this will show up as a subtitle under the name you've given your fabric, so if you want to use this for other information (like 'sheer', 'non-drapey' or 'feels plasticky' or anthing else you come up with) then add it here.


Clothio allows you to filter your fabrics by certain options, like colour.  It is really useful to do when you have to remind yourself what kinds of fabrics you have when you are looking to match your pattern with the best fabric. Let me know how you are getting on with this if you are also using it! That would be

I will keep looking for more apps to use on an Android but this one is the only one I found so far.

Does anyone else have a tip for me?  Something you use that works well for you?

I have also considered using an app for something like a photo organiser (I think there is Photobook and Picasa?) and see if I can organise fabrics or perhaps my patterns by using specific tags that will make it all searchable and filterable (if that's a word).  And a sewing app review mentioned a database called Memento that could work too - I'll have to check that out.

Please leave a comment if you can think of anything useful!

~ ~ ~

Friday, 23 January 2015

Keeping Track


Some of us have out of control wardrobes and stashes, some have vowed to keep a better record of what they have and acquire in the future.  Below is some information about some sites or apps that I have come across that can help you to do this.  These are just a few and there are others out there.  Also some of you have an efficient manual way of keeping track.  Please share any methods, products and ideas with us by adding them in a comment below.
From The Sewing directory
These below are some apps listed on the Sewing Directory site
Pattern Pal
This app allows you to track your patterns, along with a couple of photos for each pattern, pattern notes plus details of the fabrics and notions associated with your patterns.  It is available from the iTunes store.
Sewing Kit HD 2.0
Taking the Fabric Stash concept a step further this app allows you to catalogue your patterns, fabric, thread, notions, books and equipment.  You can scan the barcodes of products to instantly upload the details.   You can also track the progress of your sewing projects, take screenshots or photos of anything that inspires you and save the measurements of the people you commonly sew for.
It is available in the iTunes app store and you can get more information about it on the developer’s website http://www.vestasoftware.net
Stash Star Fabric App
If your stash is getting so large you are losing track of what’s in there this is the perfect app for you.  It allows you to photograph and catalogue your stash, ideal for when you are out looking for matching notions.  You can also add in a wish list so you will always have a fabric shopping list to hand (not sure if that’s a good or bad thing.....)
It is available on the iTunes store here.

10 apps listed on an American site.
Thought this might be useful

 From Coletterie
This site has some great tips, tutorials and ideas.  I’ve selected a few about planning and keeping track of a wardrobe and stashes.
http://www.coletterie.com/fabric-haberdashery/how-to-organize-fabric
with-your-phone

My sewing Circle
mysewingcircle.com  This is supposed to be the sewing equivalent of Ravelry, but it doesn’t really seem to have got off the ground yet in terms of people using it, despite a change of people running it in December 2014.  However it does provide a way of listing projects, stashes etc and recording your finished projects. 

More about Stash Star Fabric app
A review from I want to Be a turtle Blog  http://www.iwanttobeaturtle.com/

The Tale of a Fishtail

Another pattern from Wendy Ward's Beginner's Guide to Dressmaking, the Fishtail Skirt.

First of all, from the photographs in Wendy's book, this is how it should look, shown in different fabrics, to encourage you to come up with your own  interpretation.
This skirt interested me as soon as I saw the photographs- an ordinary looking skirt from the front but with a quirky surprise from the side and back.  I envisaged myself swishing stylishly across a room and that fishtail adding much needed "omph" to my derriere.  The fantasies we have!  And it was for beginners so it must be simple- right?!
I really wanted midnight blue satin backed crepe so that the matt crepe formed the main body of the skirt and the sheen of the satin showed on the fishtail.  I thought, maybe, of adding something sparkly, such as scattered hand-sewn beads or glittery thin swirls of thread, to the inner fishtail.   Could I find midnight blue?- no, though I tried shops in Sussex, London and Devon.  I came across some lovely colours, subtle greens, pearly greys and lavenders, forget-me-not blue, and I thought that many of them appeared to have less weight to them than I deemed  appropriate although, in retrospect, these may have been more suitable.  In the end, with time running out as I wanted to wear it to a specific party, I settled for a black that I came across at an exhibition at Excel and, at only £4 a metre, it was good value.  I must try and check out the shop from which it came at some point, Stitch of Wanstead at 10 Woodbine Place, E11.  Anybody been there?  I bought 2 metres, the amount suggested in Wendy's book, BUT forgot that I wanted to make it longer than the the stated length- more of that later.
I traced out the pattern using greaseproof paper as usual.  Although the bust measurement for size 1 in Wendy's book is almost exactly the same as mine, the waist and hips are much bigger  so I calculated the amount by which I needed to reduce the size, divided this by four and took that amount off all the way down on the side seam for the front and for the back of the pattern piece.  I also extended the length as I wished.
Due to my droopy flat backside I always have to make an adjustment on skirts and trousers by taking a slice out from the back of a pattern.  This I do by taking a tuck from the centre back of the pattern above hip level graduating to nothing by the time the tuck reaches the side seams.  With patterns with centre back seams it is very easy as I just draw a line at the relevant level, cut along the line and then move the bottom part of the pattern up over the top until I have taken out the amount I want.  I hope you can see the horizontal adjustment in this photo ( the vertical line is just from sticking the greaseproof paper together to make it wide enough to trace the pattern).
 Cutting Out Then I laid my pattern pieces out on the fabric to pin and cut out and realised my first mistake.  The length I had bought did not allow for the extra length I wanted so I had not got enough fabric to cut out the front of the skirt on the fold so that the front was all in one piece.  I would have to cut it in two pieces with an allowance to make a seam up the front of the skirt.  I did not want a seam up the front of the skirt and cursed my stupidity in forgetting to allow more for the extra length  ***!!
Luckily an idea suddenly struck me- why not make it a feature?  I remembered an article Wendy wrote in the Sewing World Magazine about Decorative Seams.  At first I thought I would try a Slot Seam where a contrast colour of cloth is stitched underneath  the line where a seam would go to hold the two main pieces of fabric together and allowed a subtle glimpse of the contrast but I found nothing suitable in colour or weight, even among my boxes of stashed fabric, to use as a contrast.  However  Brainwave No. 1 came- insert a wider strip of the satin side of the fabric in the centre front to reference the fishtail at the back.  So I cut a strip 3 cm wide, plus an allowance for the seams to sew it to each side of the skirt front, to go down the centre front.  I was so pleased with the effect that I was glad that I had made the mistake.  Besides, by cutting it this way I was left with quite a bit of spare fabric, enough, I think, to make a top. 
Making Up The book has clear step-by-step instructions - I just didn't follow them exactly.  Here is what I should have done ( abbreviation of the much fuller instructions in italics) and what I actually did.
Step 1.  Neaten the seam allowances. -  I didn't do this until I had sewn the seams as I thought that I might need to make alterations to the amount of seam allowance when it came to fitting and I wanted to trim the allowance to an appropriate amount once the seam was sewn.
Step 2 & 3 .  Iron fusible interfacing to the front and back skirt facing and join the facings at the right side seam - I didn't even trace the pattern for the facings from the pattern sheet, again because I might make alterations to the fit.  My intention was to rub off a facing pattern after making any necessary alterations to the skirt.
Step 4.  Patch Pocket - Not applicable as not adding a pocket to the front of the skirt.
Step 5 & 6.  Joining upper centre back seam and slashing to pivot point - Done as instructed.
Step 7.  Insert zip into left hand side seam - I can't bring myself to put a centred zip into a side seam so I did a lapped zip, especially as I was doing this on a Sunday (Shops shut) and I realised I had not purchased a black zip for the skirt therefore I had to use an available purple one.
Step 8. Tack right seam and try on.  Adjust this seam by amount required for fit before machining. - OH dear, the skirt was too big at the waist, I must have gone wrong in calculating the measurements.  Adjusting it on the right side only, as instructed, would mean that my satin strip would be skewed off centre and, additionally, the grainline would no longer fall down the centre front of the skirt.  To adjust it equally on both side seams would mean having to unpick the zip and the side seam; this I was loathe to do, especially as I was working to a deadline.  I tried inserting darts, just tacked to try it out, but they looked dreadful and interfered with the drape of the skirt.  Then Brainwave No 2 came - I took a tuck all the way down each side of the central  and top stitched it.  I thought this looked even better than the plain strip(see photo below).
Step 9.  Hem using bias binding.- I didn't do any hemming  until I had completed step 10 and I didn't use bias binding.  I did a very narrow hem by hand on the main body of the skirt and a narrow machine-stitched hem on the fishtail.
Step 10.  Close the lower centre back seam. - This I did but left a small amount at the bottom unstitched to turn up the hem.  Below I am marking out the seam before stitching.

Step 11 & 12.  Topstitch the upper 3 cm of the upper centre back seam to the inner back seam. - I did as instructed but  a diagram with the text (Figure 8 in the book), that seemed to me to indicate that I should see a seam allowance showing on the outside of the inner part of the skirt back, puzzled me for a while as I thought that, as mine did not look like that, I must have  interpreted the previous instructions incorrectly at some point.
Steps 13 to 15.  Concerning the facings.- entirely ignored.  It seemed to me that the outline of the bottom of the facing would be likely to show through when worn due to the drape and fit of the skirt (a Visible Facing Line instead of a VPL) and also, as the weight of the fishtail made the back of the skirt drag down that facings would not give enough support to prevent this dragging down.  Thus I decided to put on a waistband, which I did with the satin side of the fabric out ( see the photo above).  I liked this effect even more than having facings BUT, since I don't like my waistbands skin tight as my waist definitely expands with eating and drinking each day, there was still not enough "grip" around the waist to prevent the fishtail pulling the back down.  Even though I had managed to finish it on the very day of the evening occasion to which I had planned to wear it, I was too unhappy about that drag to wear it.   Lesson- always have a Plan B- and that's where Brainwave No 3 came in but that's another story.
Trying to Right Wrongs.  Thus the skirt was abandoned until the New Year.  I took it along to the first LDC meeting of 2015, along with other makings,  for advice but no-one came up with answer for this problem.  A few days later- gosh, my brain has been working overtime!- a possible solution came to me.  I tried it out with some elastic that I had and some pins and it seemed to work.  When I had time to tacke it again I bought some strong black elastic, which luckily came in a width just slightly smaller than the satin waistband.  I made a rough belt out of this to fit my waist with the elastic slightly stretched by sewing fabric tabs on both ends of the elastic and fastening it with 2 hooks and eyes.  I sewed the middle of the back of this belt into the inside of the middle of the back of the waist band by hand so that the stitching does not show through on the outer side.  The belt fastens at he middle of the front of the skirt and I then fasten the skirt waistband over it.
The elastic belt grips me and helps hold up the fishtail but still allows room for me to expand. I've subsequently worn the skirt all day, on to dinner and then the opera as it lends itself to dressing up or down  But the back still drags a bit.  I'm thinking of putting in some cased boning at the upper centre back to see if that would work.  Perhaps I was wrong about not using facings and the dragging would not occur if I had stuck to facings.  Perhaps the problem would not have existed if I had gone for a lighter weight fabric.  If you have any thoughts about what I should do or have done please put your comment below.
So here's the finished product anyway.
And don't you think it looks great with the Zip Jacket I made earlier also from a pattern in Wendy's book blogged here  ?

Thursday, 5 June 2014

Clever idea: cut your fabric, not your paper pattern!

I just came across this very clever idea of how to cut out your garment fabric pieces without having to cut your paper pattern.

Here at Tilly and the Buttons: How to Cut Fabric Without Cutting Your Pattern (Much)

Such a good idea!

My approach was that I tried to retain the smaller size lines by going around the bits that stick out at curves etc only to have to fold those bits in - just so I can keep the paper pattern intact in case I ever want to make it again in a smaller size.  And that means that I had already given up on the bigger sizes!

This clever tip allows you to keep all the sizes intact so if you have the feeling that this might become a tried and tested pattern to make over and over again, here's the best tip I've ever come across on that: trace it off!

You can mark all your other parts (that you won't cut out) like darts, notches and other markings at the same time.  So efficient, what a great use of your time!  I am all for tricks that make things quicker.  And more accurate in this case too!  Brilliant.

What I also really, really liked about it:  Tilly gives the great tip to pin the pattern to the fabric first (or set weights down) but far enough inside each piece so you can slip your carbon copy paper underneath the edges only.  When I used carbon paper I used to put the paper under the entire piece even though I was never very happy with the result.

Now why didn't I ever think of this?  It just shows that it pays off to approach something from a different angle to see if you can do it a bit different.  Particularly when you've always done them one way - like me slotting the copy paper under the paper pattern as another layer.  It was never big enough and was such a pain to move.

I'll try this the very next time I cut out a new fabric!


PS: Does anyone know what Tilly means when she refers to two kinds of tracing wheels? One 'the blunt kind', and the other the 'sharp pattern drafting kind'?  I only know of one kind and you have to be careful with it about what surface you use because this wheel can do damage.  Is there a type of tracing wheel I haven't come across yet?

* *
 

Saturday, 17 May 2014

Sew-along: a simple one metre item from stash fabric

Hello,

Many of you that have met me already through the LDC meet-up know that I love a good sew-a-long. This is my progress on the most recent 'a simple item from stash fabric' challenge.

As soon as this was announced on the meet-up group I knew that I was going to make another version of Simplicity 1884. This was perfect for the challenge for a number of reasons: -
  • The top only required 1 metre of fabric (win!)
  • It didn't require any additional notions such as zippers, buttons etc. 
  • It is an easy pattern and quick to make


One thing that I always have to bear in mind when I am doing sew-a-longs is whether or not I will be able to finish the project within the given time. Not that it matters if I don't finish it by the end of the sew-a-long, being motivated by to start a project is always exciting. However, the timescale is good practice for me when it comes to time planning, and it helps me when I am sewing projects to wear for a particular event, for example a work event or special occasion where the deadlines are more crucial. 


The fabric was picked up from a shop on Brick Lane (I can't remember what it was called but it was towards the Aldgate end) and only cost £3.50 per metre. This fabric had been in my stash for a while and although I knew that I wanted to use it for a top it always got pushed to the bottom of my priority list. I am delighted that this sew-a-long has made me do some impromptu stash busting!

Do check out the meetup page for this challenge to see what other LDC members are working on. It will also be great to hear what other ideas people have for 1 metre projects. 

Good luck with the challenge and don't forget to upload some pics so we can all see your 1 metre progress and projects!

Happy Sewing!


Sunday, 2 March 2014

LDC jacket lining discussion

LDC Dilemma Corner: Lining your jacket
Sew-a-long discussion.

Hello Seamstresses,

Many of us got involved in the great jacket sew-a-long if you have completed your project how did you find the lining stage? Any hints and tips? If you are yet to complete it still let LDC Seamstresses know how you plan to tackle this section, it can be mind boggling ... That is my experience!

Friday, 14 February 2014

Shopping overload - Walthamstow


Becky, Imogen and me went to Walthamstow High Street to get some fabric. As it is always the case with me, I only need one or two pieces but end up with a thousand more. Today wasn't any different.

We met in Jesse's Cafe ("A" on the map) for tea and coffee. It felt like one of those 1950's diner in the US with more than reasonable prices. I also had an omelet with cheese which was a good start for the shopping spree.

The first shop we discovered was Hussain Fabrics ("B" on the map) which is next to Jesse's Cafe. Unfortunately, I forgot to take pictures. There were no prices shown but the fabric Imogen bought came at £2 per metre.

Sai fabric was the second spot, prices were shown and came between £1 and £3 per metre. The fabric itself was a little bit more of the stuff I usually buy so I ended up with one dark red piece for my dress making class next weekend. And of course I bought another piece, a really nice white piece with embroidered blue and black flowers. There was a huge sale sign on the door, the only one I saw on Walthamstow High Street.


Right across the street is New Fabric ("C" on the map) were prices were also shown and similar to the ones in Sai fabric, maybe a little bit higher. I ended up with some white hummingbird fabric which (hopefully) will turn into a long summer dress one day. I also bought a white(ish), transparent piece with small pink dots. I planned to make a half circle skirt of this one but there was only 1.5 metre left so I don't really know yet what to do with it.


The forth shop we went into is called Fabric store ("D" on the map). Prices were shown and between 50p and £5. I've seen a pile with fabric remnants and had to buy this white jersey stretch with black and blue pattern, perfect for my first t-shirt! It's roughly 1 metre and was £2.


There is a quite new haberdashery shop with all kind of zippers, buttons, ribbons, thread, tape bias, beads and everything else you probably need when finishing a project. Prices were not really shown, and we didn't buy anything.

The last shop we went into was Saeed Fabrics which had a very nice vanilla smell. The fabric was, as far as I could see and feel, a better quality and therefore prices were a little bit higher but still reasonable. Prices were shown for some fabric, but I didn't buy anything and hence cannot say much to the fabric without prices.


Imogen had to leave for her appointment, a dressmaking class in Fulham. Becky and me went on but felt a little overload. There were some stalls selling more fabric and haberdashery, to be honest I didn't really pay much attention and once again, prices were not shown.


In short: A lot of different fabric shops with cheap to reasonable prices. Not nice when you already have a huge Ikea bag full of fabric and no time to sew, you'll end up with too much stuff! If you happen to just start your dressmaking and need some fabric (or the odd case in which you have used all of your fabric), that's the place to be: A lot of shops and stalls with amazing fabric.

You should be able to click on the map to view it bigger