Subtitle

. . . . . . A place to contribute, exchange tips and ideas and find further info on the LDC group on Meetup.

Saturday 17 June 2017

Once upon a time in Jaipur- Part 3 The Balotra ghaggra.


While in Jaipur, visiting the Anokhi Museum of Hand Printing, I was introduced to the means of divining the status of a native of the area of Balotra by the fabric of the traditional clothes that they wore.
Anokhi are a company who aim to promote, support and encourage traditional means of creating fabric designs, both in historical and contemporary styles.   At the Museum there were fascinating displays of fabrics, both old and new, shown as lengths of cloth or made up into clothing.  Craftsmen demonstrated the making of printing blocks and the printing of fabric.  Exhibits explained the often very complex techniques used to create multi-coloured fabrics.
Of course there is a museum shop selling fabric, clothes and the beautiful paperback books that Anokhi produce about various aspects of traditional fabric.  I bought "Balotra, the complex language of print".  All these books have marvellous photographs and actual fabric samples in them.

 Included  in the book were instructions on exactly how to cut a ghaggra skirt.

And, amongst the hand-printed fabric in the shop, was the very design illustrated.  Immediately I knew that  I wanted to make this skirt.  Traditionally the skirt is full length and requires at least 5 metres of fabric but I knew that this was not practical for me so I decided on just below the knee.  With the help of the shop staff  we worked out that I needed 3 metres.

The various fabric designs convey different messages about the status of the wearer.  Some can only be worn by young unmarried girls, some only by married women, some only by widows, others are worn only by natives of a particular tribe of the region and some only by people of a certain trade- potters, iron workers etc.  Thus you could look at the clothes worn by a woman and see that she was a widow of a particular tribe.
The fabric shown above can be worn by any woman but it is the decorative edging that conveys their marital status, the wide red border with yellow piping means that the wearer is a married woman whereas a very thin red border meant a widow.  I am not married but do have a long term partner but there appeared to be no traditional way of communicating this via fabric.
The way the fabric is cut gives very little wastage, needs no pattern and only requires cutting in straight lines.  First the fabric is cut into sections the length you want the skirt to be, this is the stage shown in the picture above. Each section is folded in half selvedge to selvedge and you make a diagonal fold across the fabric a short distance in from the corner.  Then you cut down that fold- see below.

  From this folded section of cloth you will get 4 kalis (panels) as you see below.

These are then sewn together with the narrowest sections at the top.  Below are the four joined kalis from one section of cloth. You can see that an interesting chevron pattern is formed at certain points.
In total I had 16 kalis to join, below you can see 8 of them shown from the wrong side.  The carpet was the only place I could find where there was enough room to spread it out.

The waist is formed by creating a channel through which a cord can be threaded, drawn up and tied at the side of the ghaggra.  Traditionally this is red and I found a lovely bright red at Wimbledon Sewing and Craft Superstore- thank goodness I live not far from this shop.  I simply stitched a length around the waist, folded it over and stitched it again to create a tube.  The drawcord was made from some yellow, red and black striped ribbon in my stash.  To stop the ribbon disappearing into the channel when not tied I created loops of beads and red dyed bamboo from my stash and knotted these to the ends of the ribbon.  I had seen examples of the end ties of such skirts being embellished with beads in some of the museums that I visited in India.

I pondered as to how I should indicate my status and decided to create my own symbol, which was to put 3 lines of red top stitching just above the hemline.  This also saved me hours of hand stitching the hem.
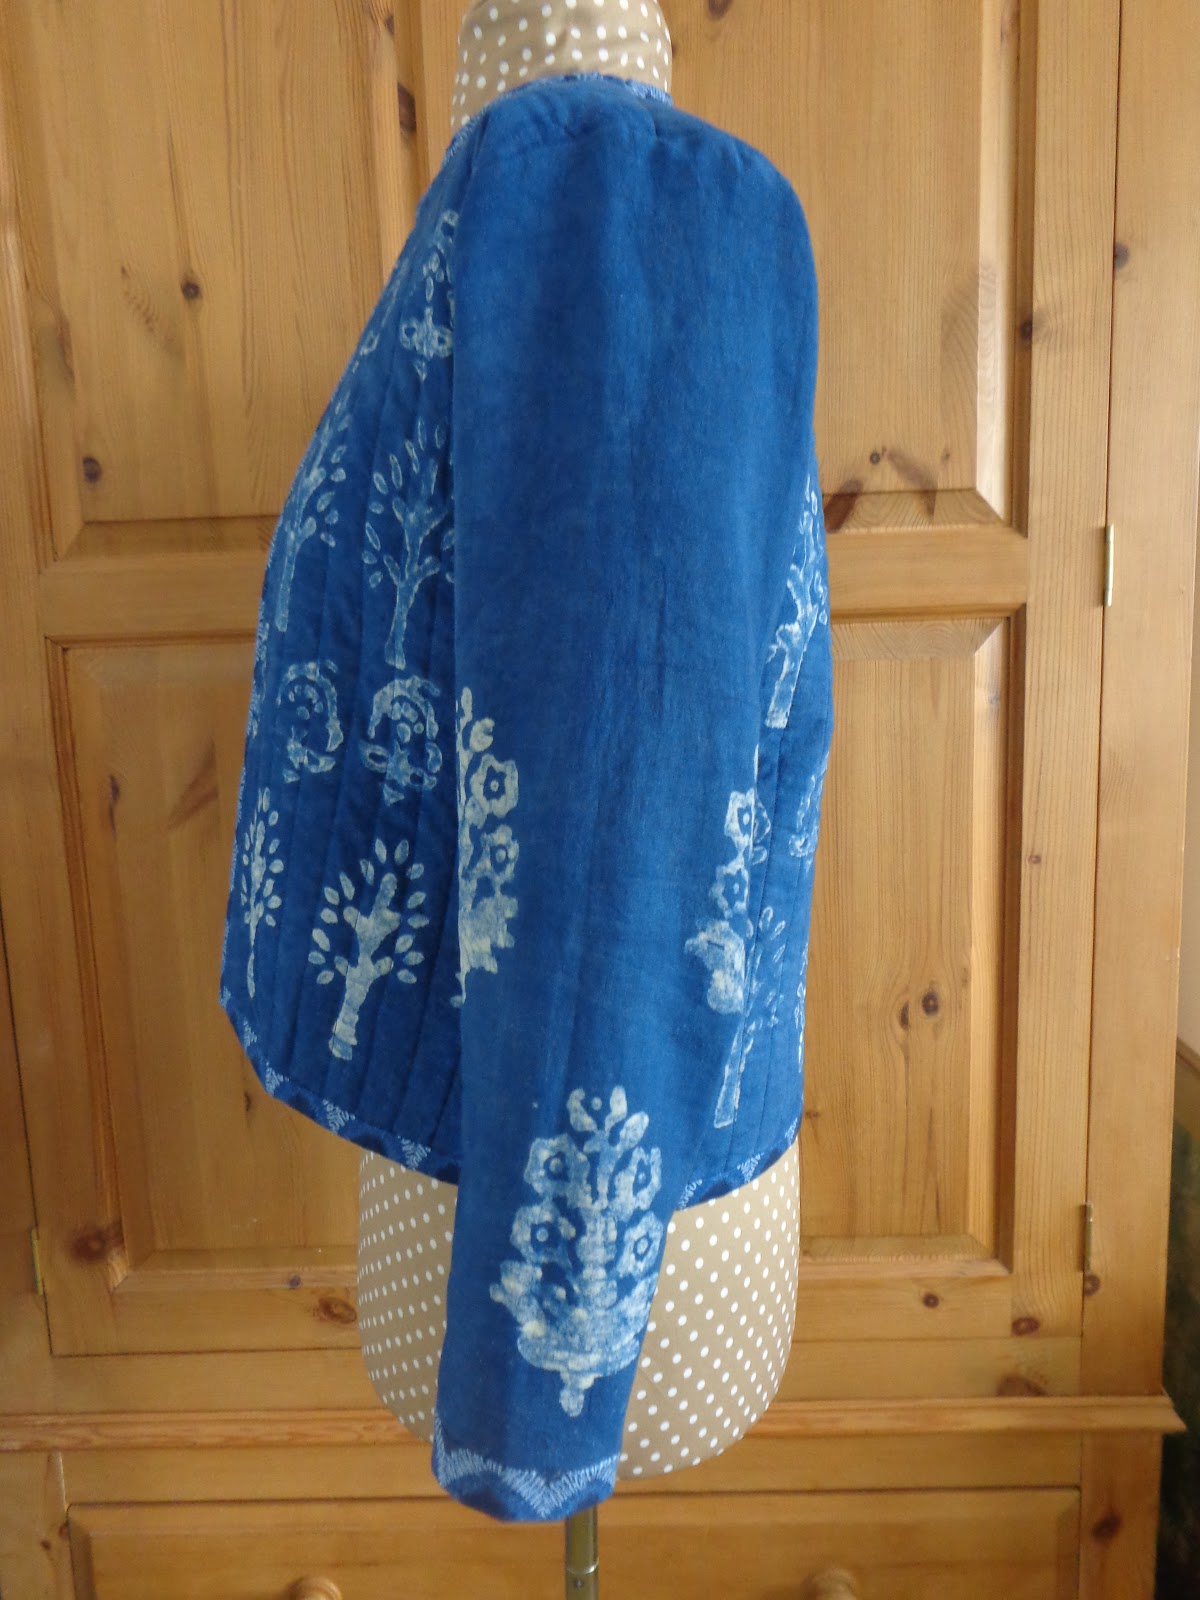
So here are some more photos of the finished result.

You can get carried away with twirling!
If anyone would like to make a skirt in this manner I can send a better copy of the brief instructions, just ask in the comments section below.

Monday 12 June 2017

Once upon a time in Jaipur... Part 2. Making the jacket.

While in India I had seen slim jackets, made from block printed fabric, that had been quilted with closely spaced parallel lines of machine stitching.  I liked the look but wanted something softer to wear as the close stitching made these jackets a bit stiff.  I decided to make an edge to edge jacket with no fastening and with more widely spaced quilting lines on the body but none on the sleeves, which I wanted to be very flexible.
 For my jacket pattern I needed only three of the eight pieces copied from my Myanmar top (see Part 1).  As I intended to bind the edges I ignored the seam allowances to the front edges and neck I had added to the copy.  The original garment had facing but I intended to fully line my garment and did not require these.  Here are the three pieces; as you can see (just about about as the photo is dark) the shape is very simple and has no darts.

I had printed three pieces on the short, narrow lengths of cloth we were given but, unfortunately, when I went to collect my washed and dried fabric only two of the three pieces could be found.  However, the back and front pieces of my copied pattern just fitted on one of those pieces and the sleeves, extended to reach wrist level as they were only three quarter length on the original garment, on the other piece.  It was a real squeeze, any less fabric and I would have had to have a shorter jacket and sleeves and not the lengths I really wanted.  This back piece is only a little smaller in width than the width of the fabric.

Had the third piece come to light I would have used this to create the edge binding.  However a trip to the Stitching, Sewing and Hobbycraft show at Excel in April provided the extras I need. At the Lili Fabrics stall I found a cotton print with toning shades of blue.  Now the jacket is finished I think this looks better than the dabu print would have done and it is a thicker cotton so will make a harder wearing edge.  At another stall I found the thin wadding I needed.  I could not decide between the polyester type, which the stall holder advised, and the cotton wadding, which seemed to me to be more flexible, so I bought both. After pre-washing them I realised the stall holder was right.
For the lining I raided my stash and used some supple polyester in dark blue with a small white motif, a cheap buy from Walthamstow Market a couple of years ago. The lining was cut out using the same pattern as for the outside of the jacket.
I quilted the outer fabric body pieces before stitching the front and back pieces together at shoulder and side seams. When I bought my sewing machine it came with a walking foot and a quilt guide that can be attached to it.  I had not used the guide before and was delighted to discover that it made stitching parallel lines so easy.

Once you have stitched the first line you set the quilt guide at the width apart that you wish your next stitching line to be and place it on your first line of stitching.  If you make sure the guide follows that line as you machine then you will have a perfectly parallel line of stitching next to it.  Without this I would have had to measure out and mark each of the lines so it was a time saver as well as an accuracy aid.


  The original top had two pockets but I did not want to disrupt the pattern on the exterior front so I put a pocket on the inside lining instead.  Once the lining was made up I secured it on the inside to the inside of the jacket at the shoulder and side seams and then pinned and tacked lining, wadding and outer fabric together all round the outer edge to keep it in position when applying the binding. I played about with various widths for the edging and decided the effect that I liked best was to have the edging of the hems broader than that of the neck and front edgings.  The edging was first machine stitched to the outer side of the jacket and then folded over to the right side and hand stitched to the lining.
I am so pleased with the end result.  Here's the back view.


And the side view- (go back to Part 1 for the finished front view).

Someone made a comment to me that "It looks as comfortable as a cardigan but smarter" and it is.